Create a student record to keep track of enrolments, application and the entire journey of the student.
Create a Student
Fill up a student creation form and keep the record of the student to access everything about the student as shown below.
Click on the ‘+’ icon, the Create Student button, to open the create student form.
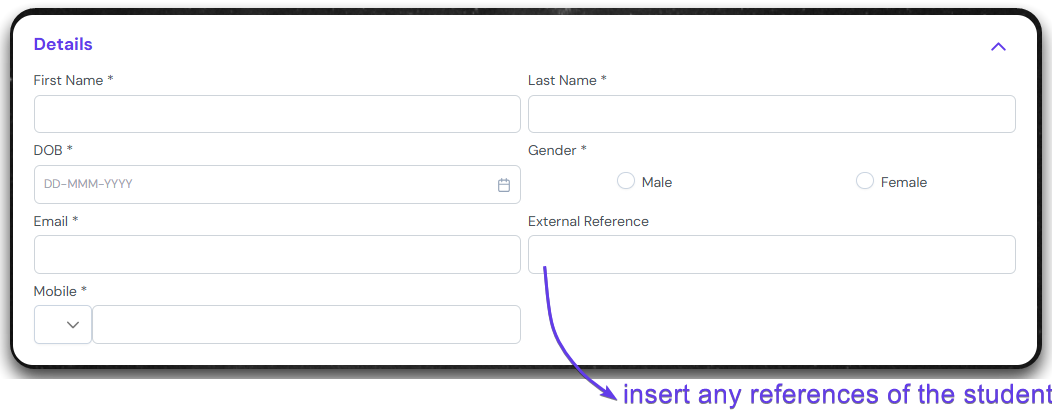
You can convert the leads to a student directly. We will discuss this in another section below. We will also explore the Upload Passport in the section below. Lets fill up the student details. This part includes details like Name, Date of Birth, Gender, Email, External References and Mobile. External references could be anything thing external to the system, like Student ID from old CRM.
The next section is the address of the student. Fill in the current address and permanent address of the student. If the two are same, you can click, “Copy current address’.
As soon as you start to type the Street name, it will pull out the information from Google Maps. You can overwrite the information too in case the location is not shown correctly or is not available in Google Maps
In the next section, the student’s social media handles can be added. Most of the mainstream social media are listed here. You can select one and type their handle. It is a text field at the moment, which means, it will not get converted into a link when displayed.
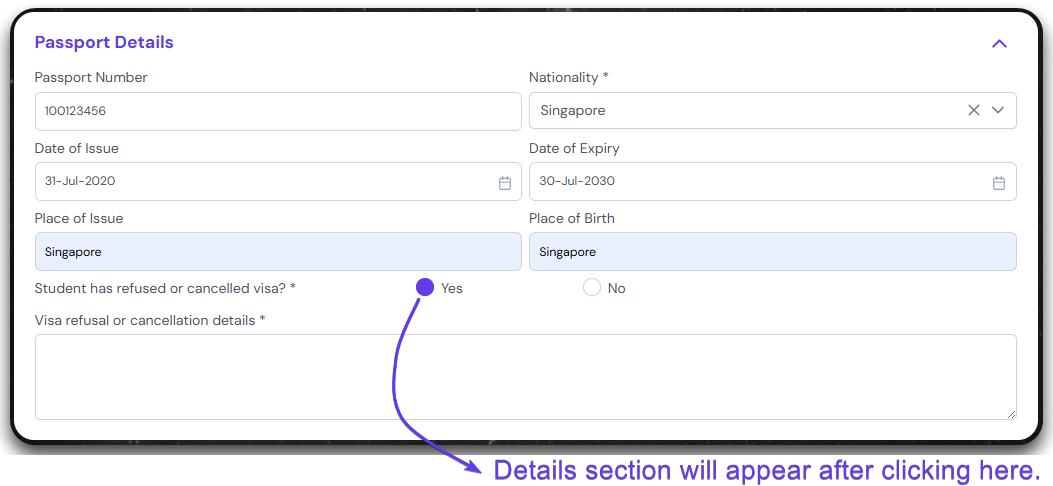
The passport details section asks for the details of the passport like Date of Issue, Date of Expiry, Place of Issue, Place of Birth. It also asks about the previous visa cancellation record of the student. When clicked yes, the section to expand to accommodate the description box.
The next section is to mention if the student is a direct student or from your agency network. We call it Service Partner. If it is the service partner, mention the name, Branch and Counsellor of the service partner.
The last section is the Emergency Contact. This is one of the important contact of the student. Fill the name and contact details of the person. As this is an Emergency Contact, the relationship details can be predefined from the admin console.
The entered name will appear in the Contact, inside the student record.
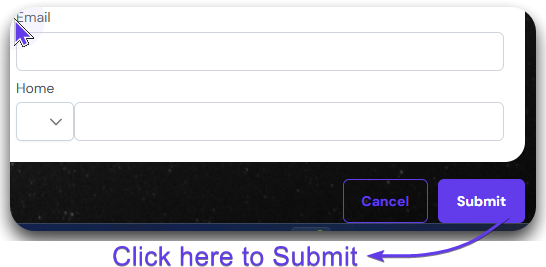
Click on the Submit button to create a student.
Upload Passport
Uploading a passport will autofill the student records by reading the passport of the student and is saved as a document in the student record.
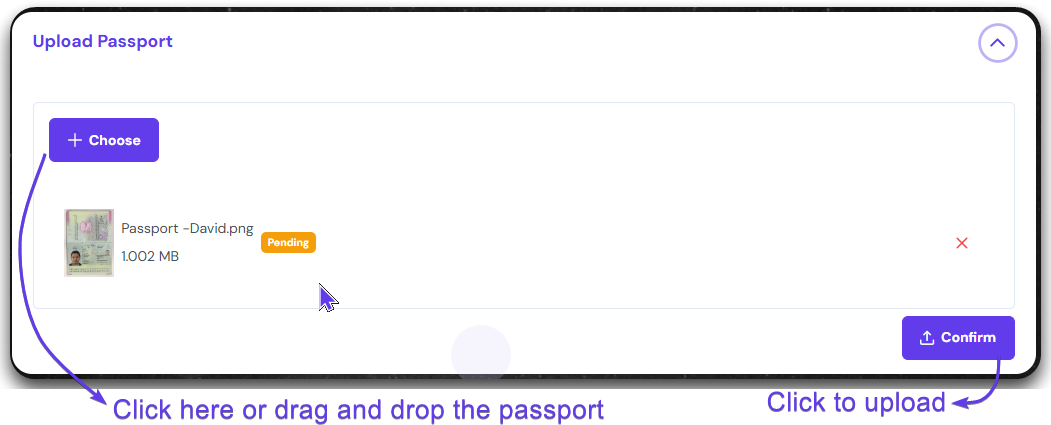
After entering the Create Student form, click on ‘Upload Passport’ section.
Drag and drop a student’s passport or click “+Choose” button to open the document from your device. Then click confirm.
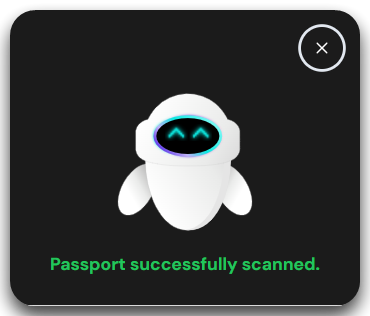
A notification pop-up appears informing passport has been successfully scanned.
It will auto populate the field of Student Details section, like First Name, Last Name, Date of Birth.
And the Passport Details liek Passport Number, Date of Issue, Date of Expiry.
Fill the rest of the form without missing the mandatory details. Then click on submit button to Create a Student.
Convert from Lead
You can create a student by converting a lead. Follow the process below to be able to convert the lead to a student.
After entering the ‘Create Student from, click on ‘Convert from Leads’.
From the Select Leads drop down menu, select the leads that you want to convert to a student. You will be able to preview the details.
Click on ‘Convert’ button to convert the lead into a student. The system will ask to reconfirm conversion. A notification appears confirming the student has been converted
All the information the Lead has will be pulled to respective field of the student record. If any fields are left empty you can fill it up. Then click on Submit button to save it as a student.